

Selling up or simply want to make your space work (and look) smarter? You don’t need a major makeover to see major results – and add value to your home.
Having worked as an interiors editor for more than a decade, I’ve tried all sorts of DIY jobs, so I know which ones make the biggest difference (and aren’t a nightmare to do). These seven budget-friendly home tweaks pack a serious punch when it comes to adding value.
Luxe up your windows and doors on a budget
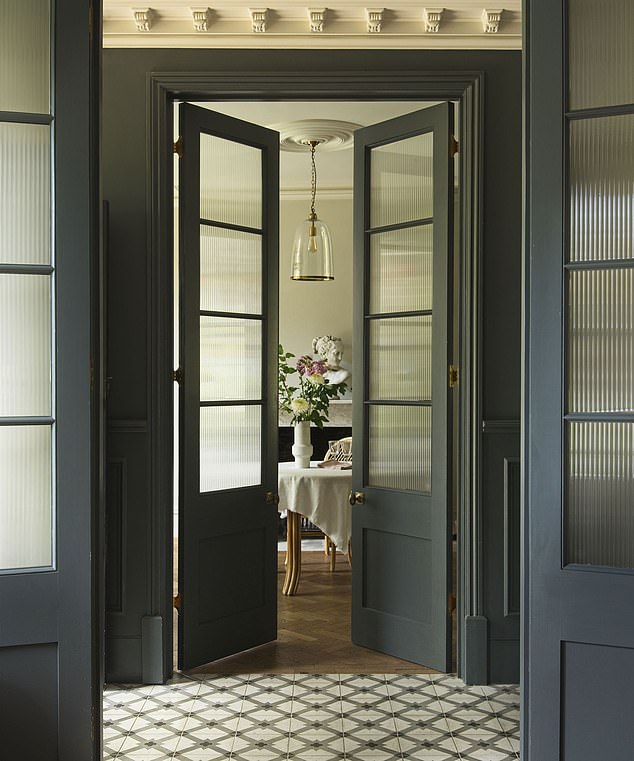
Think you need a builder to luxe up your windows and door panels? Think again. B&Q (diy.com) and purlfrost.com sell a wide range of fluted, frosted and etched glass films that will take your windows from basic to bougie in an instant, while softening harsh light and adding privacy.
Simply clean the existing glass thoroughly, cut the film to size, and apply it using a spray of water and a sponge for a smooth, bubble-free finish.
Pro tip: For an ultra-neat result, trim the film after application using a sharp craft knife and a metal ruler to get crisp, clean edges right up to the frame.
Paint a bed canopy
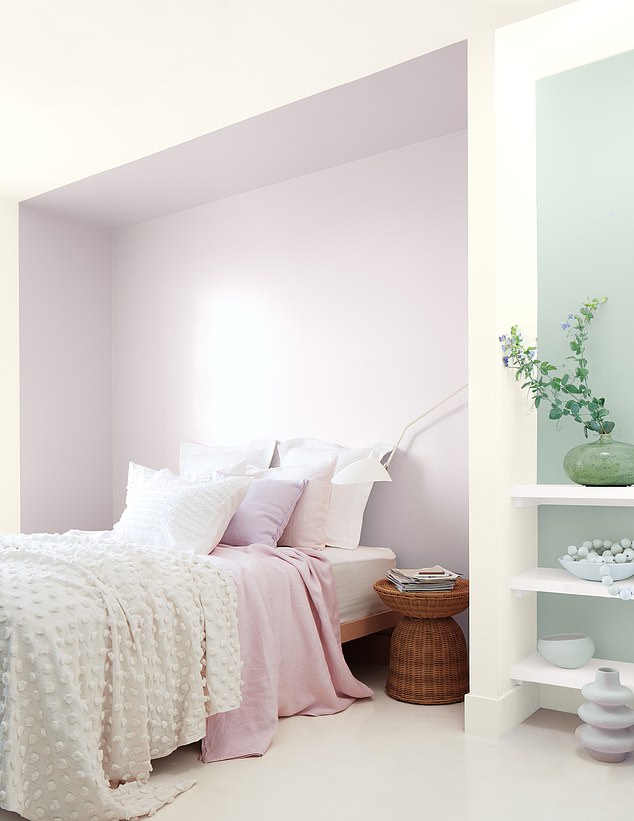
Who needs fabric when you’ve got leftover paint? Simply mark out your desired shape on the wall (rectangles are easiest) using painter’s tape and then fill the space inside the tape line with your favourite paint shade. Rich, deep tones work wonders for a cosy, cocooning vibe. Just make sure to let it dry for several hours before sleeping in the room to avoid breathing in any paint fumes.
Pro tip: Use a foam roller for a smooth, even finish.
Give door frames a bougie makeover
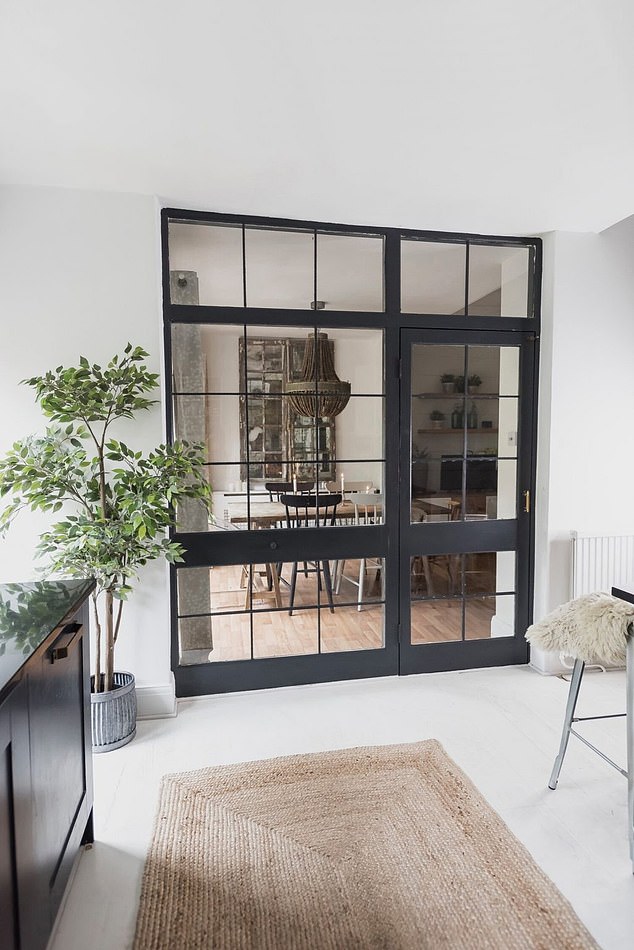
Love the sleek, industrial vibe of Crittall doors but hate the price tag? Fake the look with this clever hack – just use black electrical tape or thin timber beading.
With a steady hand, apply the tape or beading carefully along your door, window, or shower frame to create those iconic grid lines.
Pro tip: Use a ruler and painter’s tape to mark out your grid lines first. This will help you keep everything perfectly straight.
Cheat a marble table
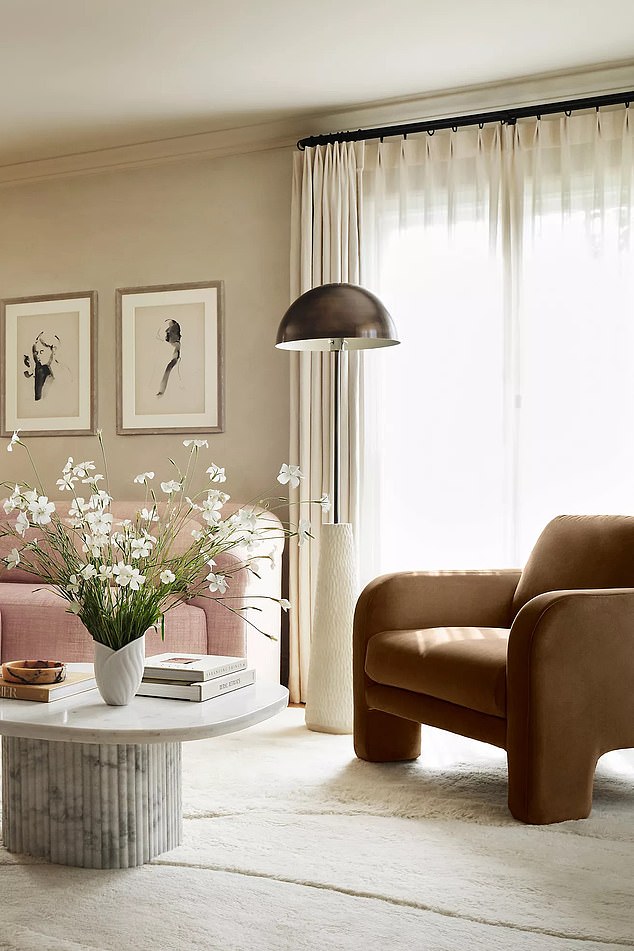
Let’s face it, marble is the number one material designers use to make decorating schemes look expensive. But you don’t need a designer budget to achieve the same look. Marble-effect vinyl wrap will stick to your existing surface in seconds and works wonders.
Simply use it to cover an old coffee table or sideboard, smoothing out any bubbles with a piece of cardboard. No one will know it’s not the real deal (unless you tell them).
Pro tip: Use a hairdryer to gently warm the vinyl before applying. It helps it stick better around corners.
Make a skirtain
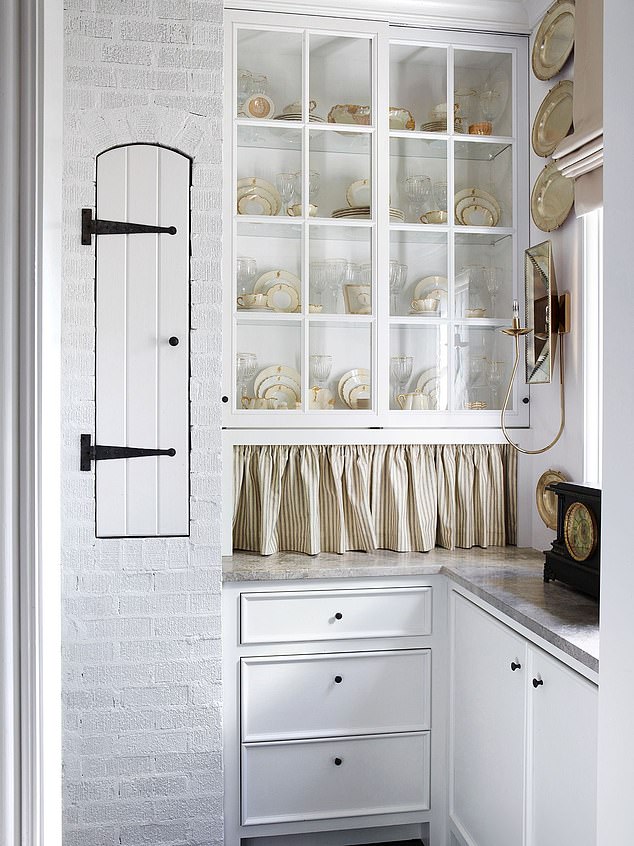
The ‘skirtain’ – part curtain, part fabric skirt – is the ultimate budget hack to hide awkward kitchen corners, unsightly utensils or create a cute storage nook.
All you need is some lightweight fabric, a rail or tension rod and basic sewing skills. If you don’t relish the sewing part, hemming tape and iron will work just as well.
Pick your fabric (leftover curtain cloth or an old tablecloth are perfect), measure the area, then cut with extra width for pleats. Hem the edges, sew a rod pocket at the top, slide it on and voilà – an instant cosy upgrade.
Pro tip: For that perfectly gathered look, use fabric at least twice the width of the space you’re covering.
Add a mini outdoor kitchen
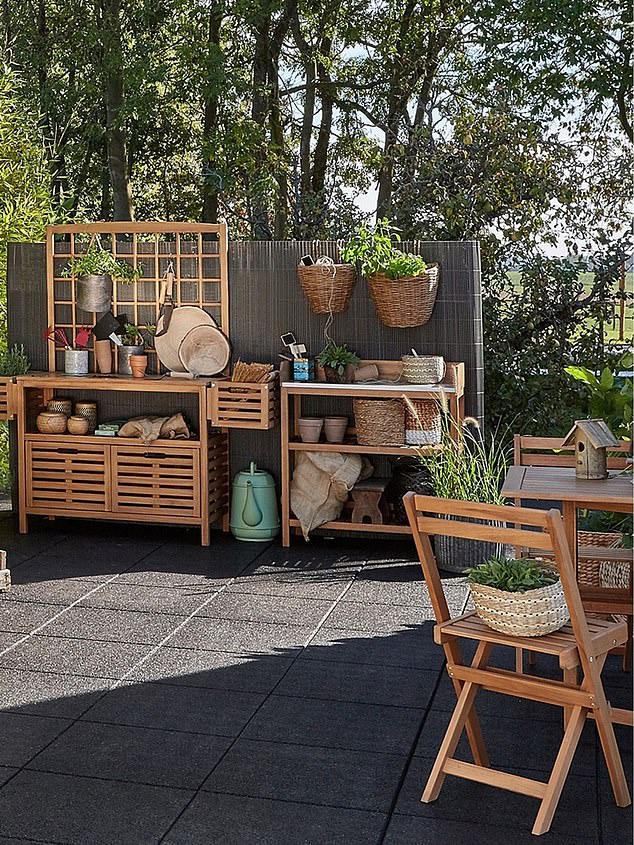
Don’t let having a bijou balcony or tiny garden stop you from creating a mini oasis that doubles as a BBQ zone and makeshift cooking hub.
Start with a wooden trellis (many home stores sell them) and paint it your favourite colour. Hang plants, chopping boards and cooking utensils – keep everyday essentials like utensils lower for easy reach – and decorative touches like plants higher up.
Stack wooden crates or apple boxes side by side as open shelves at the base and fill them with plates, bowls and glasses. Screw them together for a permanent set-up or leave loose to move around as you please.
Position against a wall to draw the eye upwards and maximise every inch of space.
Pro tip: Choose a trellis paint colour you won’t tire of; oatmeal, sage, or soft grey work well and complement most decorating schemes.
Switch out your door handles
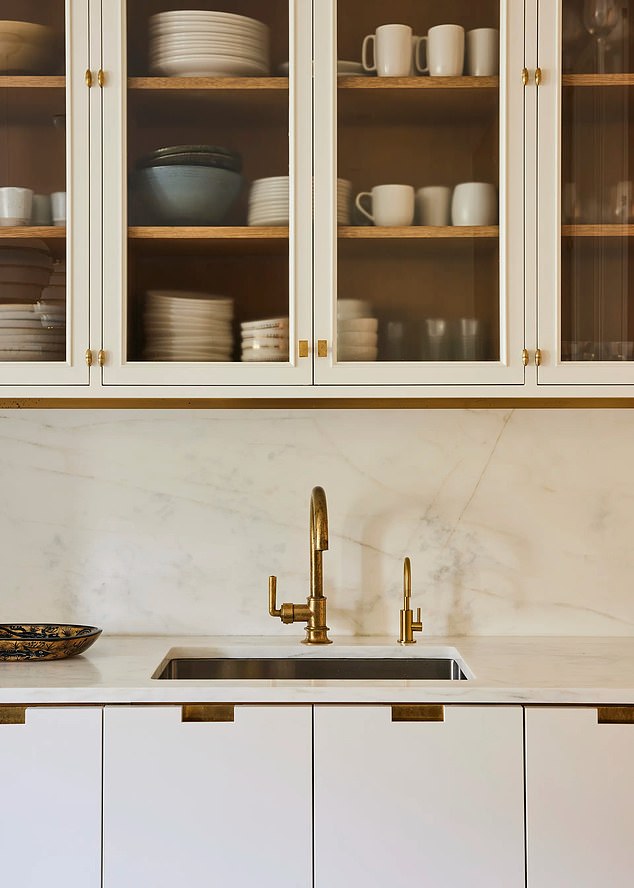
Swapping out door handles is a simple upgrade that will instantly refresh your kitchen, bathroom or bedroom furniture. All you need is a screwdriver, measuring tape and a bit of patience!
Simply remove the old handles, line up your new ones using existing holes (or fill and drill new ones if needed) and screw them in place. It takes less than an hour and makes your whole space feel brand new.
We love the antique brass range at wickes.co.uk for that timeless touch.
Pro tip: Choose hardware with the same screw placement as your existing handles. That way you don’t have to drill new holes.


